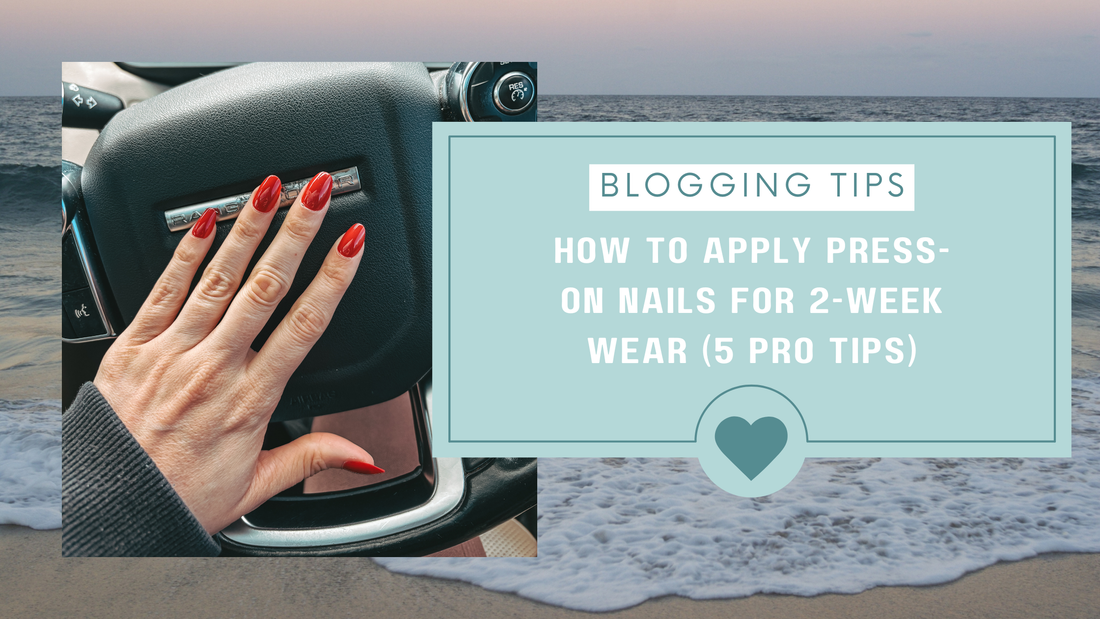
How to Apply Press-On Nails for 2-Week Wear (5 Pro Tips)
Share
5 Expert Tips to Apply Press-On Nails Like a Pro
💅 Tip 1: Push Back Your Cuticles
Start by gently pushing back your cuticles using the wooden stick in our application kit. This is essential! Pushing back cuticles gives your press-ons a clean, flat surface to grip, preventing premature lifting and ensuring a professional, gap-free look.
💅 Tip 2: Lightly Buff and Dehydrate the Nail
Gently buff your natural nails to remove any shine. This creates the optimal friction for the glue to adhere better. Then, use the included alcohol wipe to completely eliminate any dust or oils. This double-prep is crucial for a strong, lasting bond.
💅 Tip 3: Find Your Perfect Size
Before applying glue, lay out all 30 nails and test them on each finger. Choose the size that perfectly covers your natural nail without resting on the skin. A proper fit is the number one secret to durability and a flawless look.
💅 Tip 4: Apply Glue the Right Way
Apply a drop of glue to both your natural nail and the back of the press-on. For the ultimate 2-week hold, spread the glue evenly from base to tip, being careful not to trap any air bubbles.
💅 Tip 5: Press and Cure for 60 Seconds
Place the press-on nail slightly under the cuticle and hold it down firmly for a full 60 seconds to fully secure the bond. Avoid water for at least 60 minutes afterwards to let the glue completely cure and ensure maximum durability.
Ready to Try the Pro Method?
These easy steps guarantee your Press To Impress Australia luxury sets will last up to 2 weeks!
